

How to configure DHCP reservation of the Linksys Dual-Band WiFi Router

The Dynamic Host Configuration Protocol (DHCP) Reservation feature allows the router to reserve the lease of an IP address for use of a specific device on your network, effectively ensuring that the router does not assign the IP address to other devices in the network. This is helpful when managing multiple devices such as print servers, web cameras, network printers, or game consoles.
To configure DHCP reservation on your Linksys Dual-Band WiFi Router, follow the steps provided below:
1. Access the router's web interface.
2. Click the Configuration tab.
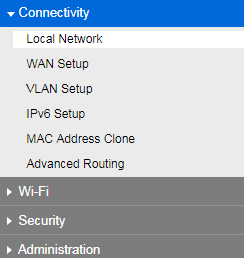
3. Click Connectivity then select Local Network.
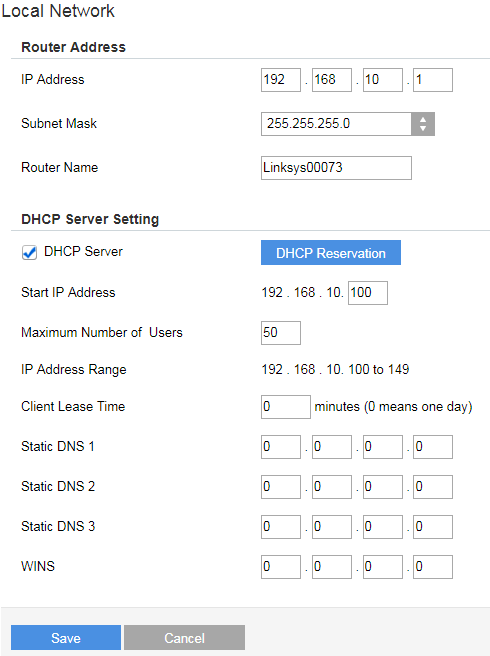
4. Under DHCP Server Setting, click DHCP Reservation.
Make sure that the DHCP Server is enabled.
5. The DHCP Client Table will pop up. This will show you the list of devices connected to your network. Select a device in the Select Clients from DHCP Tables section and check the Select box, then click Add Clients.
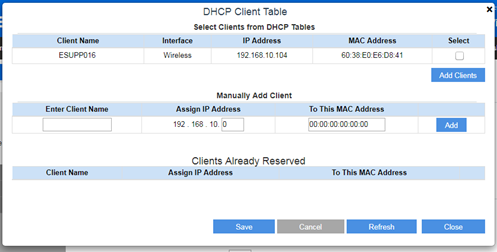
If the device you want to add is not listed, you can manually add a device to the DHCP Client Table. To do this, you will need to get the MAC address of your device and enter the details under the Manually Add Client portion then click on Add.
6. Once the client is added, scroll to the bottom to see the Clients Already Reserved section. If you need to, you can also change the client’s name or assigned IP address.
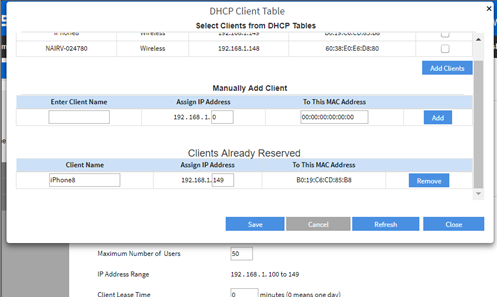
7. Click Save.
Your device will automatically get the assigned IP address whenever it connects to the network.
4485

