

Troubleshooting with Velop Simple Setup in the LinksysSmartWiFi.com

If you are having issues setting up the Velop system through the Linksys app, you can use the Velop’s LinksysSmartWiFi.com page to configure your node.
Before you begin:
- Make sure the node is in factory defaults. If not, reset the node to clear any settings that may interfere with the setup. Hold the reset button for 6 to 10 seconds.
- You should be connected to the default WiFi of your Velop or plug an ethernet cable from your node to your computer.
IMPORTANT: This feature is available in firmware version 1.1.1.177892 or above.
Directions
Setting up the parent node
Internet connection setup
Setting up the parent node
If you are unable to complete the parent node setup using the Linksys app, follow the steps below on how to set up the node using the Velop Simple Setup page.
1. Open a browser and enter “https://myrouter.local/” in the Address bar, then press [Enter].
2. You will be redirected to linksyssmartwifi.com:52000/ui/1.0.99.198962/dynamic/velop/blocking.html.
3. In the Address bar, replace “blocking.html” with “setup.html”.
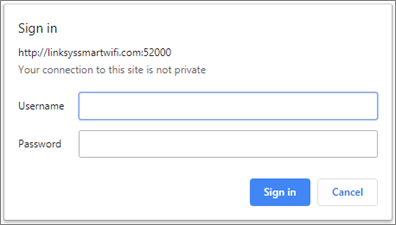
4. Once prompted, enter “admin” in the Username and Password fields then click Sign in.
If you are unable to complete the parent node setup using the Linksys app, follow the steps below on how to set up the node using the Velop Simple Setup page.
1. Open a browser and enter “https://myrouter.local/” in the Address bar, then press [Enter].
2. You will be redirected to linksyssmartwifi.com:52000/ui/1.0.99.198962/dynamic/velop/blocking.html.
3. In the Address bar, replace “blocking.html” with “setup.html”.
4. Once prompted, enter “admin” in the Username and Password fields then click Sign in.
5. Enter your preferred WiFi settings in the SSID and Password fields, then click Setup Node.
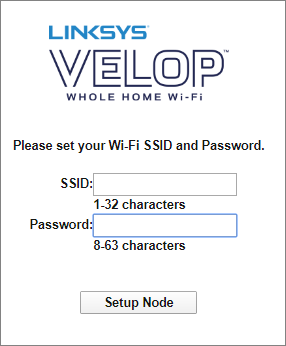
NOTES: Clicking the Setup Node button will set the WiFi settings and will also:
- Set the node's mode as parent
- Set the administrator password as admin
- Set the node's name / location to Node1
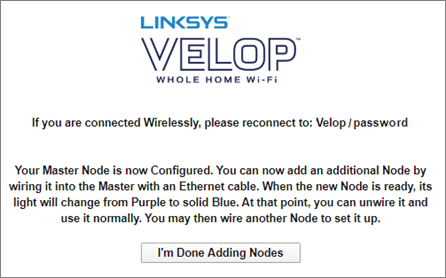
6. Once completed, click I’m Done Adding Nodes.
IMPORTANT: If you are connected via WiFi, connect to the new SSID of your Velop network.
You have now successfully set up your parent node using the Velop Simple Setup in the web interface.
Internet connection setup
If you are having issues setting up the internet connection, follow the steps below to know how to configure a node using the Velop’s web interface.
1. Open a browser and enter “https://myrouter.local/” in the Address bar, then press [Enter].
2. You will be redirected to linksyssmartwifi.com:52000/ui/1.0.99.198962/dynamic/velop/blocking.html#m.
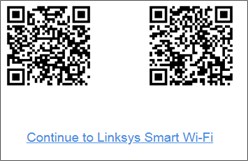
3. Click on Continue to Linksys Smart Wi-Fi.
2. You will be redirected to linksyssmartwifi.com:52000/ui/1.0.99.198962/dynamic/velop/blocking.html#m.
3. Click on Continue to Linksys Smart Wi-Fi.
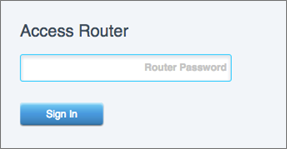
4. Enter “admin” in the Router Password field, then click Sign In.
5. Click on the CA link at the bottom-right corner of the screen.

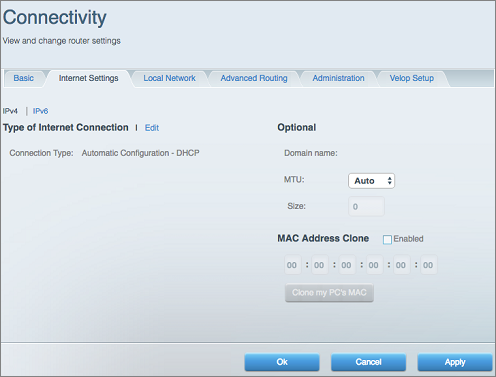
6. Once you are taken to the dashboard, click Connectivity > Internet Settings and configure this section according to your internet connection type. Click on Apply, then click on Ok to save the changes.
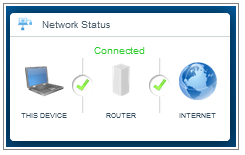
Once the parent node's light is blue, internet connection has been established. You can also return to the dashboard to check if the Network Status is now Connected.
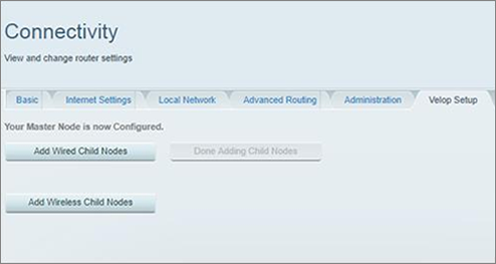
7. To add child nodes, place them near the parent node. Turn ON the other nodes and wait until the light on each node turns solid purple before you click the Add Wireless Child Nodes button.
NOTE: If you set up wired nodes, connect an ethernet cable from your child node to the parent node; wait until your child node's light turns solid purple and then click on Add Wired Child Nodes.
NOTE: If you set up wired nodes, connect an ethernet cable from your child node to the parent node; wait until your child node's light turns solid purple and then click on Add Wired Child Nodes.
NOTE: You will not see any changes in the web interface once you click on either of the buttons. The buttons for adding nodes will be grayed out once clicked, indicating that it is sending the configuration settings to the other nodes. Focus on the light indicator of the child nodes instead. The child nodes will start to communicate with the parent node and then they will be added to the network. Once all child nodes have a solid blue light, you can then place them in other locations.
8. If you are done adding nodes, click on Done Adding Child Nodes then click Apply or Ok.
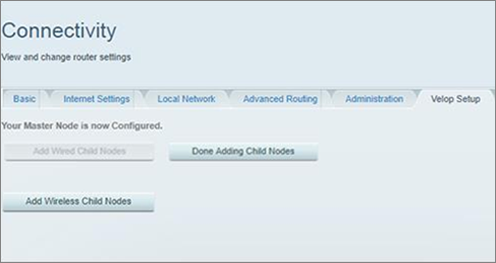
8. If you are done adding nodes, click on Done Adding Child Nodes then click Apply or Ok.
You have now successfully configured the internet connection of your Velop network.

