


This article will provide instructions on how to create a Share on the Linksys E7350.
Before you begin:
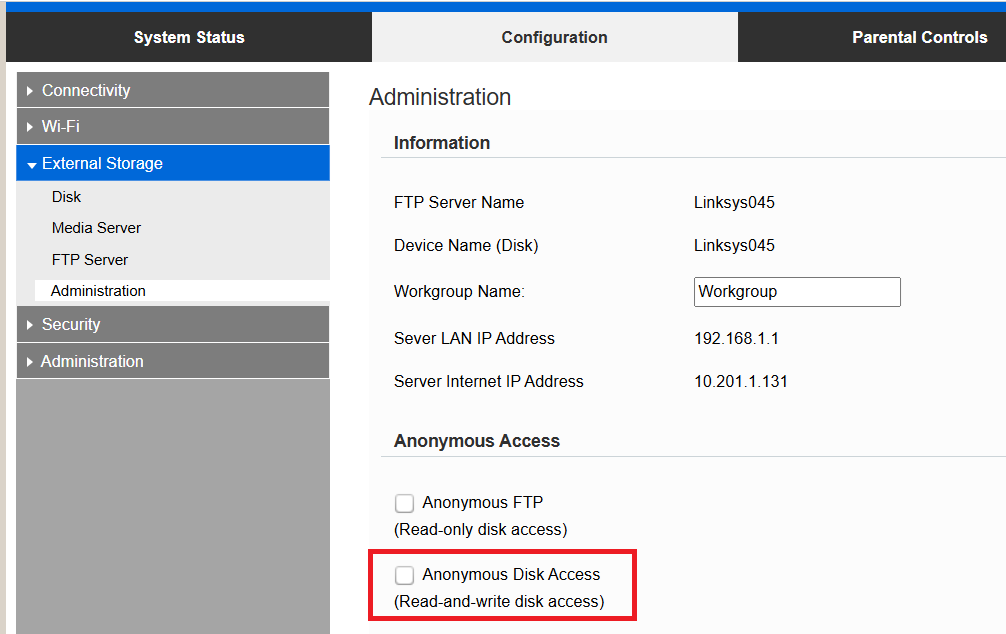
By default, the drive has Anonymous Disk Access enabled, meaning anybody can access the drive. If you would like to disable this option and assign permissions to a group, you must first disable Anonymous Disk Access and create users/groups by going to External Storage > Administration. For more information, follow these instructions.
1. Access the router's web interface.
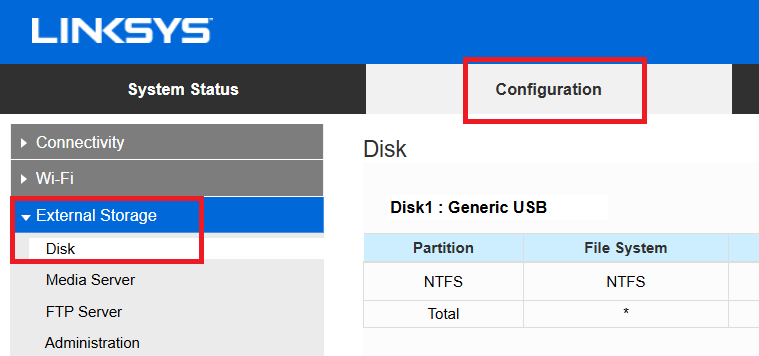
2. Under the Configuration tab, go to External Storage > Disk.
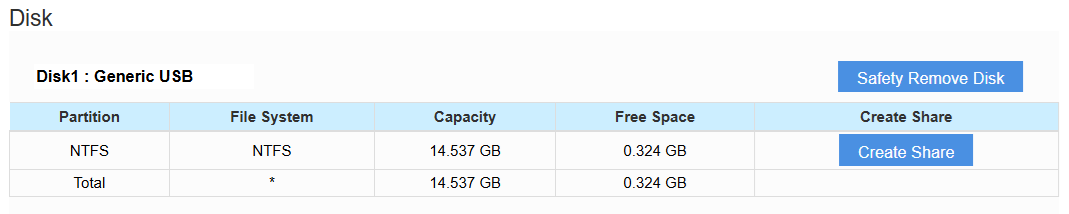
3. Click Create Share.
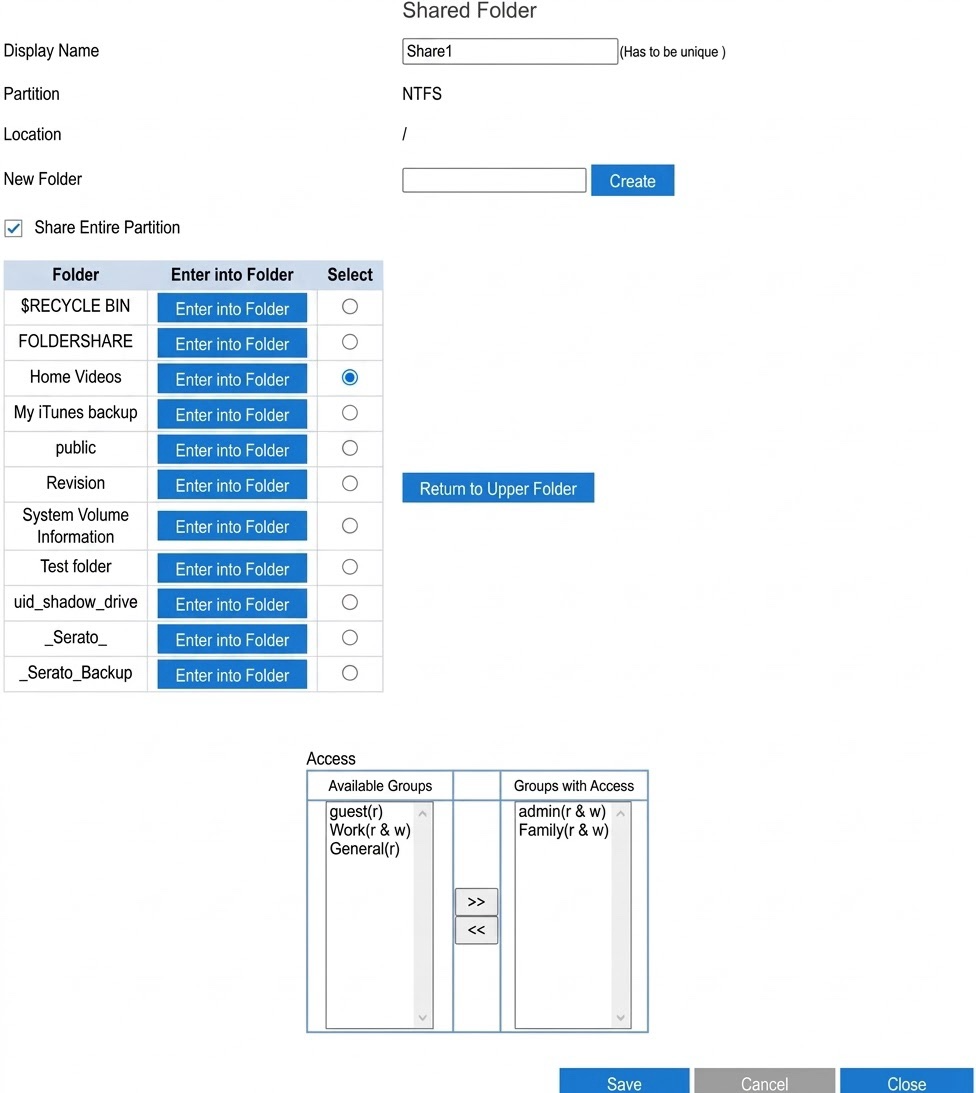
4. In the Display Name field, enter a name for your Share.
5. Select an existing folder, or enter a name for a new folder and click Create.
NOTE: To display sub-folders, click Enter into Folder. To return to the parent directory, click Return to Upper Folder.
6. If you have configured Groups with permissions:
1. Select a group from the Available Groups column.
2. Click the arrow to move it over to the Groups with Access.
7. Click Save.
The Access columns will only appear if you uncheck Anonymous Disk Access on the External Storage feature's Administration page. You can save your settings now and update permissions later.
You should now have successfully created a Share for your Linksys E7350, and it should now show in the Shared Folder section.

