


If you have an existing Linksys Pinnacle Mesh network but would like to add a separate network using Linksys SPNM60 or SPNM62, follow the steps in this article.
Hardwiring the Linksys Pinnacle Mesh router to the upstream network may result in the second router being added as a wired child node instead of another parent router. All Linksys Pinnacle Mesh routers support wired onboarding by default. To prevent this issue in this type of scenario, we are going to set up the second router (network) without any ethernet cables first.
To prevent this and successfully build a separate second network, choose one of the options below:
Option A: Turning OFF wired auto-onboarding
Turning OFF wired auto-onboarding means that if you want to add future wired child nodes to your first network, you must use the web interface. The only way to re-enable auto-onboarding is to factory reset the router.
1. Check if wired auto-onboarding is enabled on the first Linksys router.
2. Open a web browser and type in "192.168.1.1/sysinfo.cgi".
3. Enter your router username and password.
4. Search for the term auto onboarding.
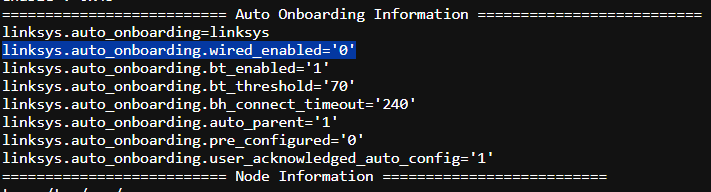
Linksys.auto_onboarding.wired_enabled=0: It is already disabled. You can proceed to hardwire the second Pinnacle router to a LAN port on the first Pinnacle router. No need to change the settings.
Linksys.auto_onboarding.wired_enabled=1: It is enabled. Proceed to Step 5.
5. Log into the web interface of the first Linksys router.
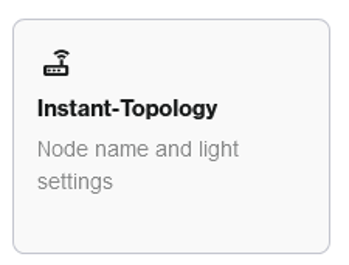
6. Click on Menu, then go to Instant-Topology.
7. Click Instant-Pair on the parent node, then click Pair wired node.
8. Click Done pairing.
Now you can add a wired unconfigured node to the LAN port to set up your second network.
Option B: Cable-free setup
If you do not want to change the system settings or turn OFF wired auto-onboarding on your primary router, use this wireless onboarding.
Example
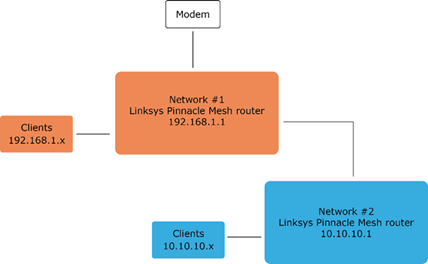
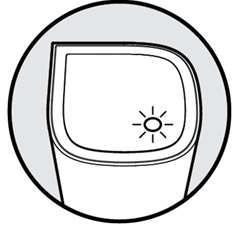
1. Disconnect any ethernet cables from router #2 and power it ON, wait until the light turns solid blue, which indicates it is ready for setup.
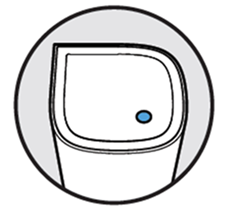
Ready for setup
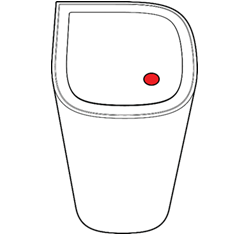
If the light is red, hold down the reset button for about 20 seconds until the light turns solid blue.
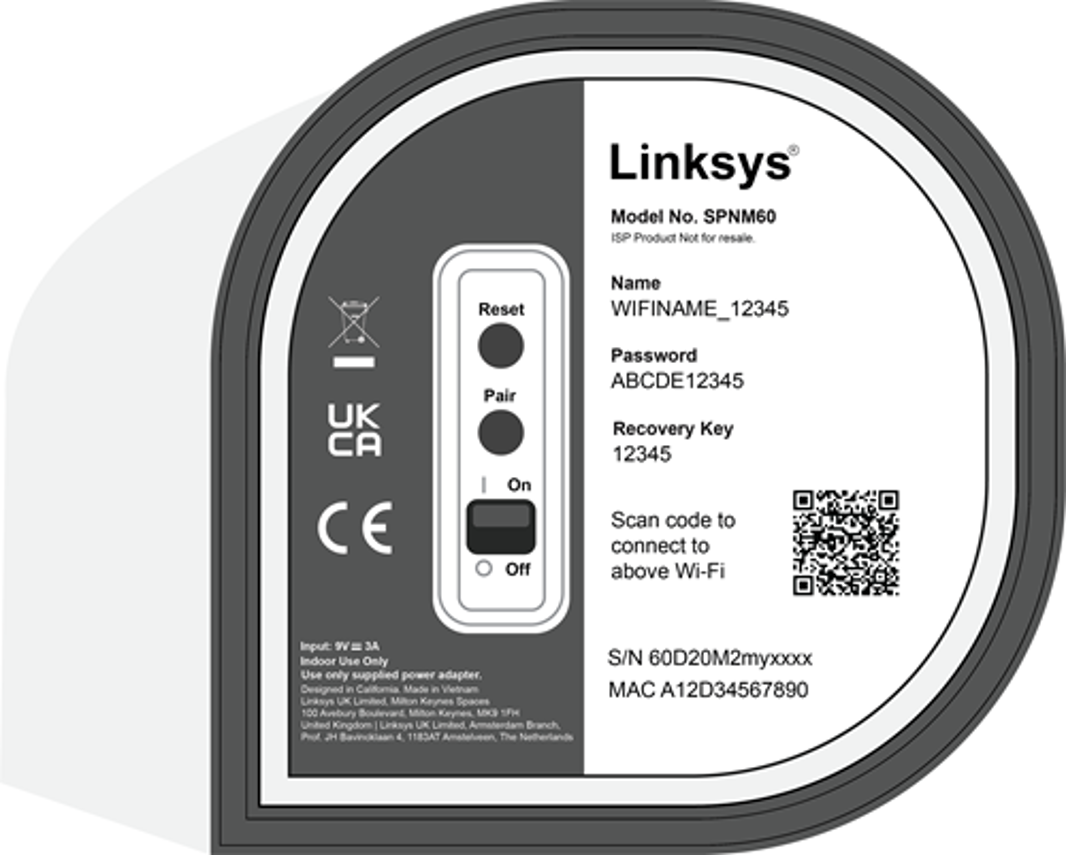
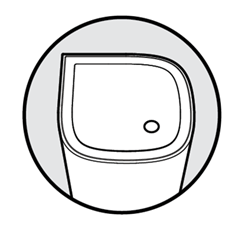
2. Press the Pair button on the bottom of the router #2 for at least 1 second. The light will begin blinking white. DO NOT CONNECT ANY ETHERNET CABLES.
This ensures that the router is being converted into a parent Mesh router and will then check for internet connectivity which will fail as expected.
Setup in progress
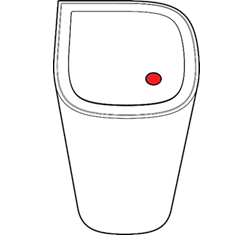
3. Wait until the light turns solid red. This indicates that the router has been converted into a parent Mesh router but has not detected any internet connection, as expected.
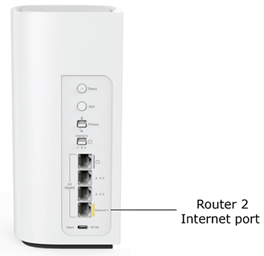
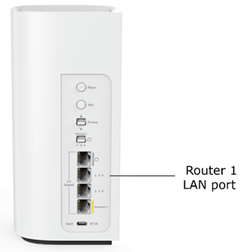
4. Now connect an ethernet cable from the Internet 1 port of router #2 to any LAN port on router #1.
5. Wait until the light turns solid white on router #2. Once the light turns solid white, the router has now detected an Internet connection.
Your second Mesh network is now ready to use. The default WiFi credentials are located on the bottom of router #2.
Router #2 - Ready to use
If you need to configure the internet settings manually, determine the new IP address of router #2 first. Then simply log in to the router by its IP address and go to Menu > Advanced Settings.

