


This article will guide you on how to add a Linksys Intelligent Mesh™ child node to a Linksys Cognitive™ Mesh router in a mixed network environment where, in some cases, adding an Intelligent child node fails to onboard to a Cognitive Mesh router.
Example scenario:
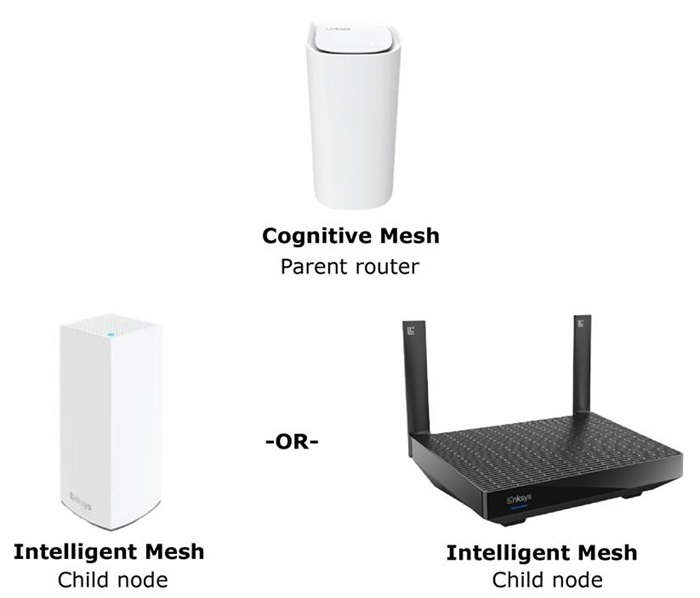
Linksys uses two types of Mesh technologies: Cognitive Mesh and Intelligent Mesh. Although it’s recommended to use the same Mesh technology across a network, there may be situations where you want to mix Mesh types.
There may be some edge cases where adding an Intelligent Mesh node to a Cognitive Mesh node may not work, depending on the method being used.
It is highly recommended in a mixed environment to use the node with the latest technology as the parent router, when possible, for better performance. Because Cognitive Mesh is the newer and more advanced technology, it should serve as the main router to ensure optimal performance and avoid potential network bottlenecks as you expand your system.
Before you begin:
- The Cognitive Mesh parent router, which is the router connected to your modem, should already be set up and online. The child node is an additional node used to expand your WiFi network.
- Determine if your Linksys model is a Cognitive Mesh router or an Intelligent Mesh router.
- If you need to switch the parent router, let’s say a Cognitive model within your network, you will need to reset all your nodes. Then, set up the Cognitive parent router first. Learn the initial parent router setup of a Cognitive Mesh router.
There are a few ways to add the child node in this scenario. Either use the Pair button method, the 5-Press button push, or the web interface (requires an Ethernet cable). Choose the method that best fits your scenario.
Add a child node using the Pair button
Add a child node using the 5-Press button push method
Add a child node using the web interface
The Pair button method is supported on the following models:
- MBE7000, MX6200, LN1400, LN1600 series or LN1100 v2 model with the latest firmware
The Pair button is the quickest method to add a child node. Your parent router must be set up and online.
1. Power ON the new child node near the router during setup. Keep it no more than 10 ft away; the closer, the better. You can move the child node after the setup is complete.
2. Make sure that the child node you are adding is ready for setup. The light should be solid blue.
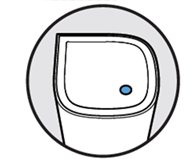
If the light is red, hold down the Reset button on the new child node for about 15 seconds, then wait until it turns solid blue before proceeding.
3. Press the Pair button on the parent router for at least 1 second. The router’s light will begin blinking white, indicating that pairing is in progress.
LN1100 v2
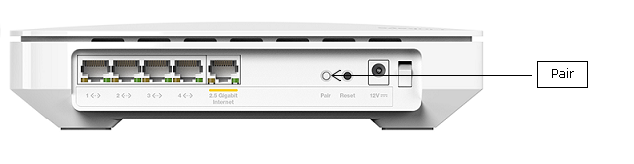
LN1400 / MX6200 / MBE7000
NOTE: For Linksys MBE7000 and MX6200 models, press the unlabeled gray button.
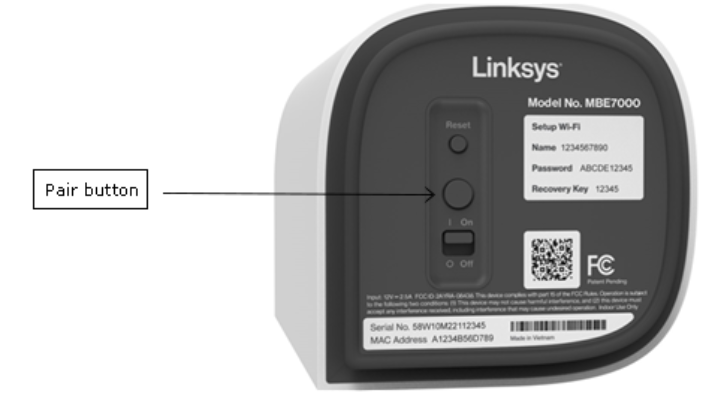
4. The parent router will begin scanning for unconfigured nodes. Once the child node has been detected, the child node’s light will begin blinking white. Wait until the child node’s light turns to solid white.

A child node has been detected
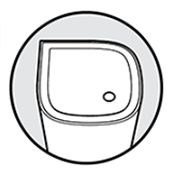
The child node has joined the network
5. Once the light is solid white on the child node, you can relocate it.
This method is supported on the following models (with any firmware version):
- LN1100
- LN1100 v2
- LN1400
- MX6200
- MBE7000
1. Power ON the child node near the parent router during setup. The child node should be no more than 10 ft away from the parent router; the closer, the better. After it is set up, you can relocate the child node.
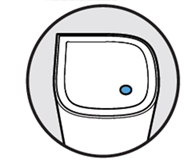
Solid blue | ready for setup
If the light on the new child node is red, hold down the Reset button for about 15 seconds to reset it to factory defaults.
2. Before you proceed, please read this step.
With this method, you will be using the Reset button on the parent router. Make sure NOT to hold the reset button, as doing so will reset the router to its factory defaults. Press the reset button on the back of the router five times within 5 seconds (DO NOT HOLD).
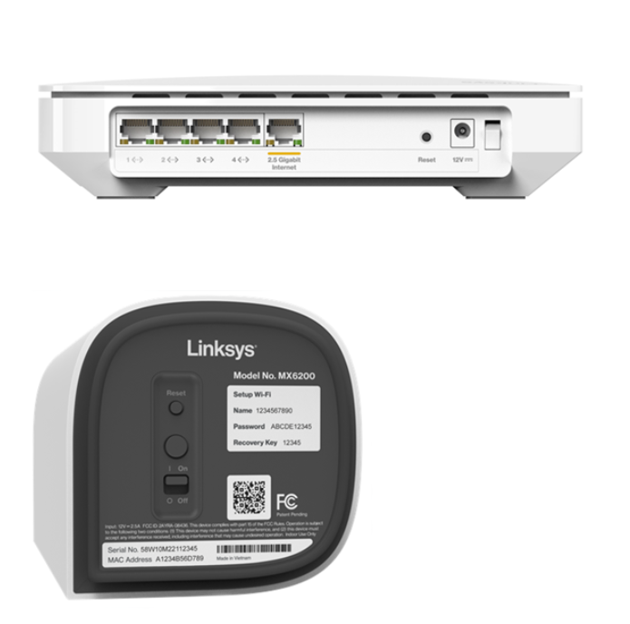
3. The router will begin scanning for unconfigured nodes. The light on the child node will start blinking white once it is detected. Wait until the lights on all nodes turn solid white. This may take a few minutes to complete.

A child node has been detected
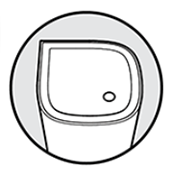
The child node has joined the network
No solid white light?
- Solid red light: This means an internet connection was not detected on the parent router. Check if your router is online.
- Solid blue: This means the child node was not detected. Bring it closer and repeat the steps to try again.
4. You can now relocate your child node and wait for the light to turn solid white again.
You can also use this method as a workaround for all Cognitive Mesh models. With this method, you will need an Ethernet cable. Add the child as a wired child node first and then switch it to a wireless node.
- Web interface (Parent router model: MBE7000, MX6200, LN1400, or LN1100). This requires a desktop computer and an Ethernet cable.
- Auto-Onboarding using LinksysNOW Routers (Parent router model: LN1600). This requires an Ethernet cable.
Requirements: A desktop computer and an Ethernet cable.
Supported parent router models are MBE7000, MX6200, LN1400, and LN1100 only.
1. Confirm that the Cognitive parent router is fully set up and functioning. The LED should be solid white.
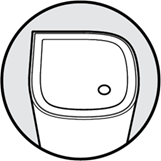
Cognitive parent router – Solid white light – Online
2. From a desktop computer, open a web browser and enter "www.myrouter.info" or "myrouter.info" into the Address bar and press [ENTER]. You can also use "https://192.168.1.1".
Enter your router password and click Sign In. If you have forgotten the password, click Reset password to recover it.
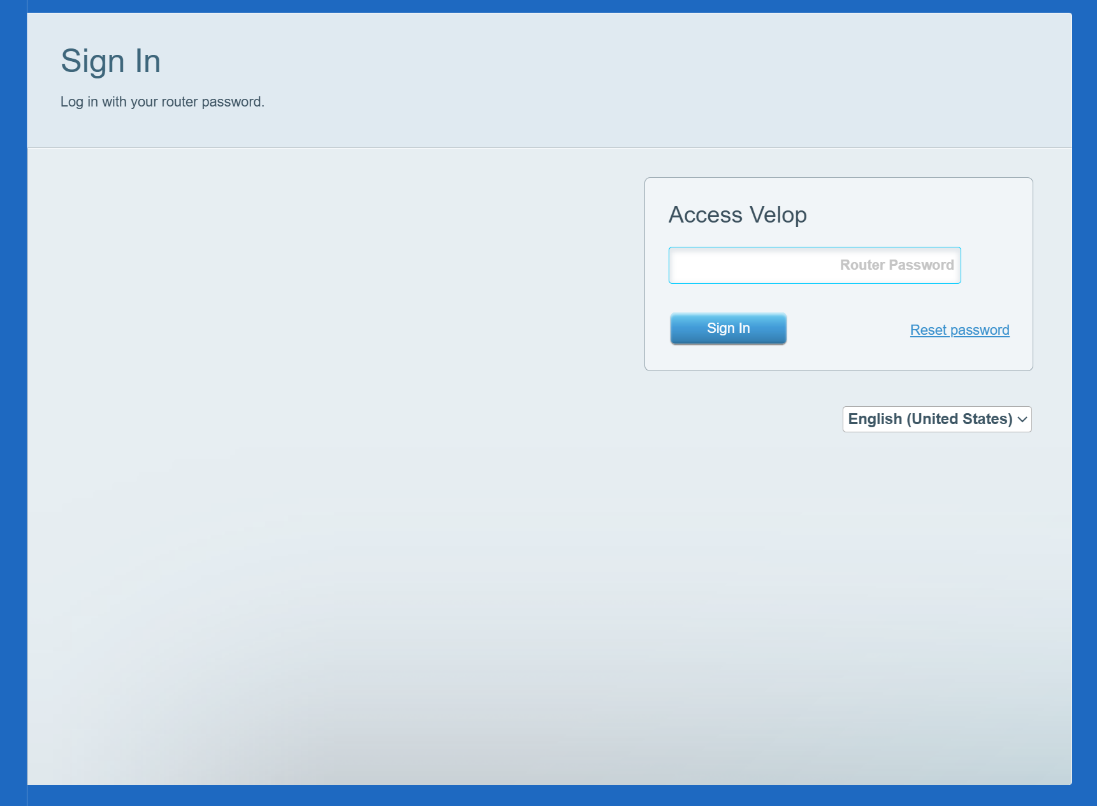
3. Once inside the web interface, click the CA link located at the lower-right corner of the page.
If you don’t see the CA link, proceed to the next step.

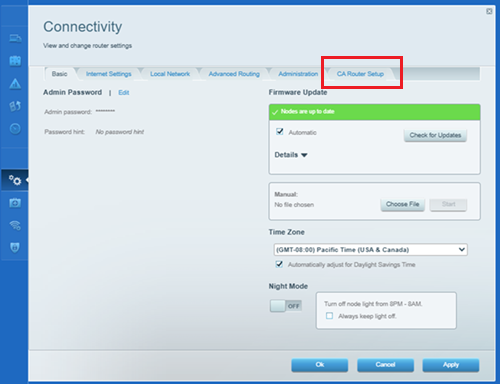
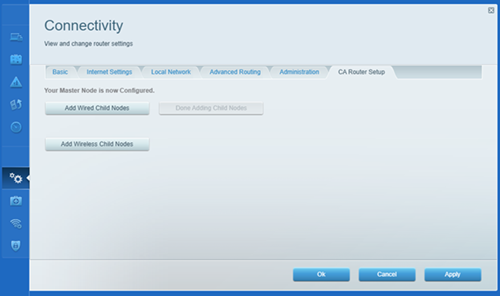
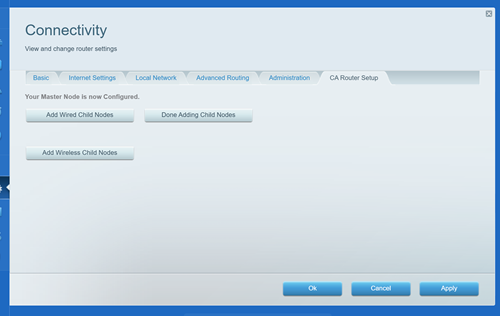
4. Go to Connectivity and open the CA Router Setup tab.
5. Power ON the Intelligent Mesh child node near the parent router and verify that its LED is solid purple, which indicates it is ready for setup.
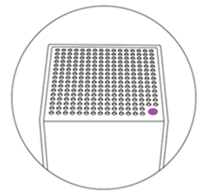
Child node – Solid purple light – Ready for setup
NOTE: If the light is red, hold down the reset button on the child node for about 20 seconds and wait until it turns solid purple.
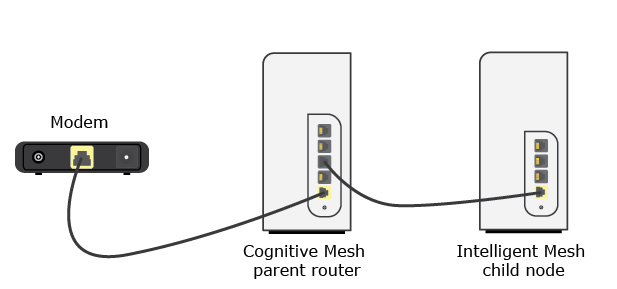
6. Once your child node is wired to the parent as previously instructed and it has a solid blue light, click Add Wired Child Nodes in the CA Router Setup section.
7. The light on the child will begin blinking; this may take about 2 minutes. Once the light starts blinking, this indicates that wired onboarding has begun. Please wait until the process is complete; this may take a few more minutes.
Once the child node has a solid blue light, the child node has been successfully added as a wired child node.
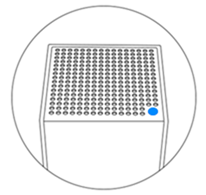
Child node – Solid blue light – Online and connected to the network
8. Now, to convert the wired child node into a wireless child node, simply disconnect the Ethernet cable. The light on the child node will begin blinking again; this indicates that it has detected the disconnection from the parent router and is now switching to connect as a wireless node. Wait until the light is solid blue again.
Once the light turns solid blue, it has successfully switched to a wireless child node of the network. You can now move your child node.
NOTE: If the LED continues blinking red for more than a few minutes, reboot the child node.
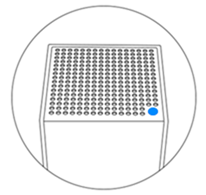
Child node – Solid blue light – Online and connected to the network
9. Click Done Adding Child Nodes. You can now move your wireless child node.
Auto-Onboarding using LinksysNOW Routers
Requirement: One Ethernet cable
Supported parent router models are LN1600 only.
Cognitive parent routers running on LinksysNOW firmware support auto-onboarding over a wired connection automatically, so the setup process will be slightly different.
1. Confirm that the Cognitive parent router is fully set up and functioning. The LED should be solid white.
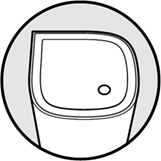
Cognitive parent router – Solid white light – Online
2. Power ON the Intelligent Mesh child node and verify that its LED is solid purple, which indicates it is ready for setup.
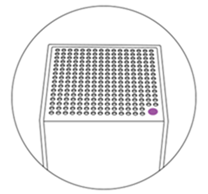
Child node – Solid purple light – Ready for setup
NOTE: If the light is red, hold down the reset button on the child node for about 20 seconds and wait until it turns solid purple.
3. Connect an Ethernet cable from the LAN port of the Cognitive parent node to the Internet port of the Intelligent child node.
If you are unable to add the child node with this method, follow these instructions using the LinksysNOW web interface instead.
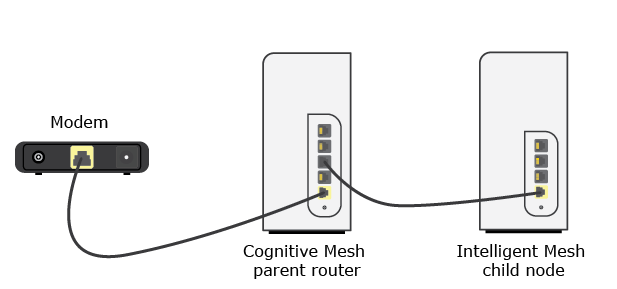
4. The light on the child will begin blinking; this may take about 2 minutes. Once the light starts blinking, this indicates that wired onboarding has begun. Please wait until the process is complete; this may take a few more minutes.
Once the child node has a solid blue light, the child node has been successfully added as a wired child node.
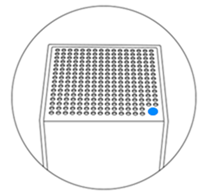
Child node – Solid blue light – Online and connected to the network
5. Now, to convert the wired child node into a wireless child node, simply disconnect the Ethernet cable. The light on the child node will begin blinking again; this indicates that it has detected the disconnection from the parent router and is now switching to connect as a wireless node. Wait until the light is solid blue again.
Once the light turns solid blue, it has successfully switched to a wireless child node of the network. You can now move your child node.
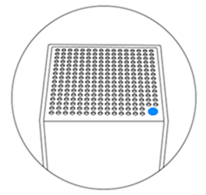
Child node – Solid blue light – Online and connected to the network

