Linksys routers have a built-in firewall to prevent malicious programs or hackers from accessing your computer files or entering your network. Since this firewall has been set to prevent most programs or applications, you will have to manually configure your router’s settings for you to allow the programs or applications you want to use.
Port Forwarding is done so the data for internet applications can pass through the firewall of the router or gateway. It allows you to apply rules on your router to let it know that one particular port is open to receive a specific requested data. This article will show you how to forward ports.
You can also learn about setting up Single Port Forwarding through the Linksys cloud account.
If you will be prompted to do an update for the web interface, proceed with the update. There will also be a prompt to create a Linksys cloud account, do NOT skip this and create one. Having your router updated will avoid restrictions in changing settings which happens when your device is not updated.
Before you begin
- Consult your device's documentation or online support site to find out what ports you need to forward for your device as they differ depending on the application being used.
- Take note of the IP address of your device and the computer where you need to forward the ports to.
There are two types of Port Forwarding:
Single Port Forwarding
Port Range Forwarding
Single Port Forwarding
This type allows you to set up public services one by one on your network such as web servers, FTP servers, email servers, or other specialized internet applications. Before using Single Port Forwarding, you should assign static IP addresses to the designated computers.
Specialized internet applications are applications that use internet access to perform functions such as videoconferencing or online gaming. Some internet applications may not require any forwarding.
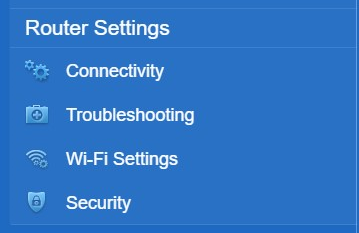
3. Click on the Apps and Gaming tab.
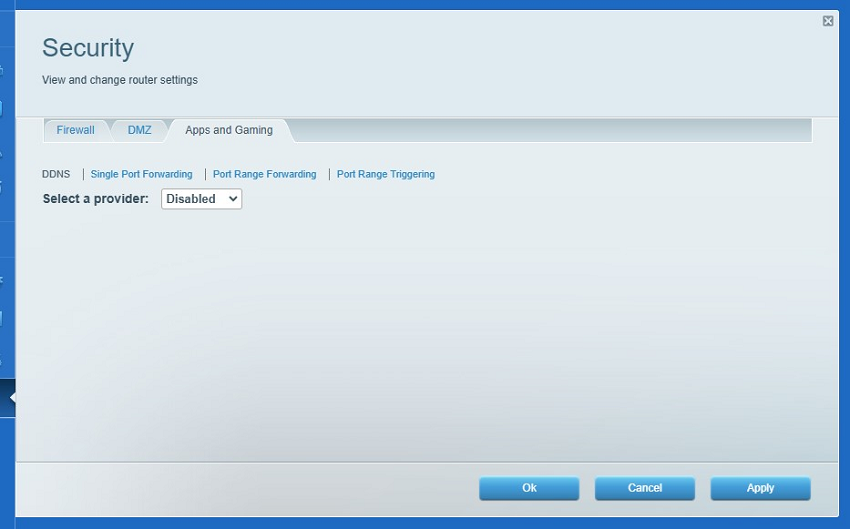
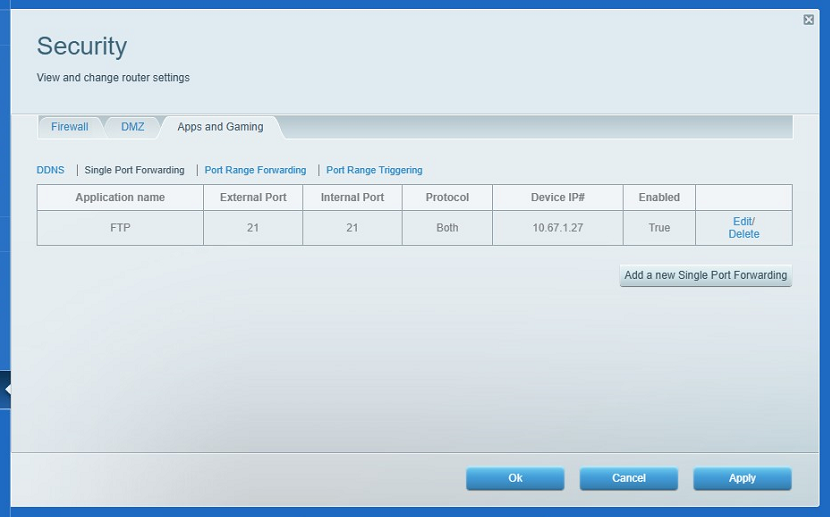
4. Click Single Port Forwarding > Add a new Single Port Forwarding.
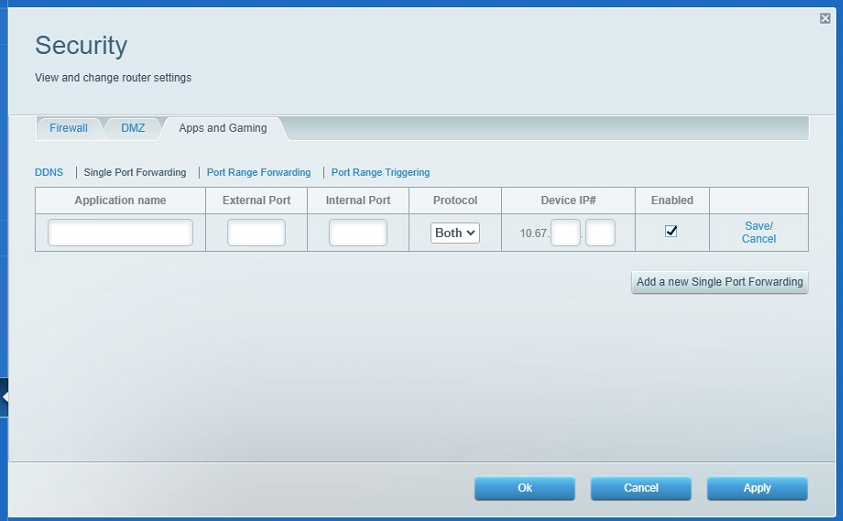
5. Enter the details of the device or application that you want to forward ports to. Enter the Application name, External Port, Internal Port, Device IP#, and select the Protocol that applies. Also, make sure the Enabled checkbox is selected.
In this example, FTP and port 21 with the Device IP# of 10.61.1.27 are used.
6. Click Save.
7. Click Apply. To close the window, click the Ok button.

Port Range Forwarding
This type allows you to set up public services in a group which means a range of ports, for example from 20 - 25. Certain applications may require opening specific ports so they can function correctly. Examples of these applications include servers and some online games. When a request for a certain port comes in from the internet, the router will route the data to the computer you specify.
Due to security concerns, you may want to limit Port Forwarding to only those ports you are using.
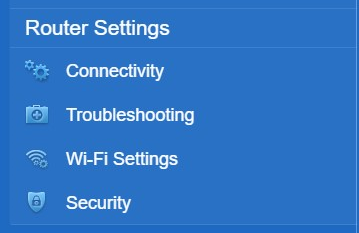
3. Click on the Apps and Gaming tab.
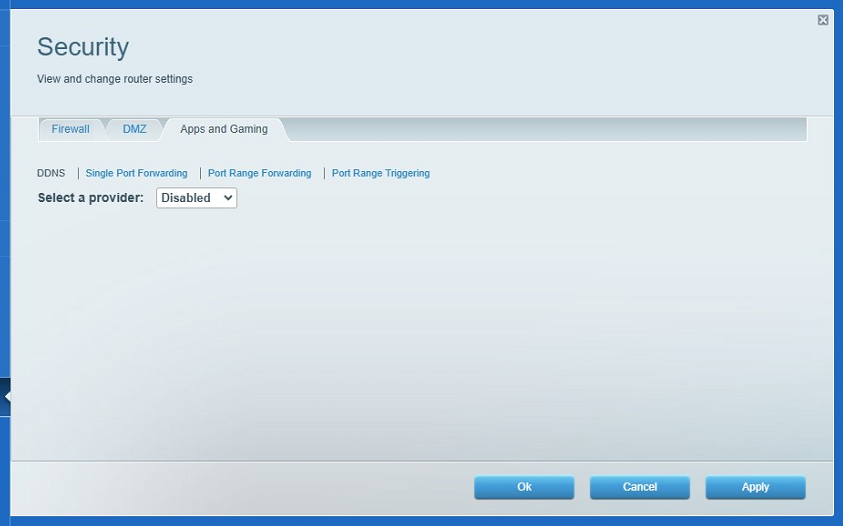
4. Click Port Range Forwarding > Add a new Port Range Forwarding.
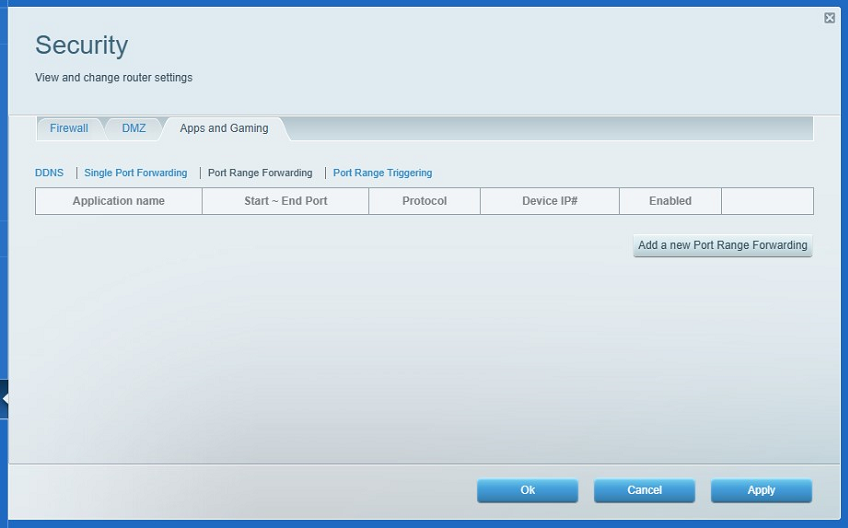
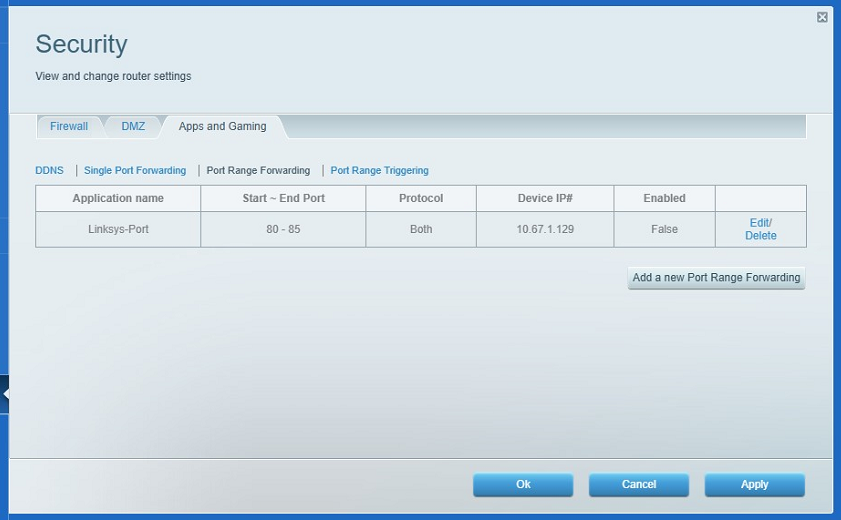
In one of the examples below, Start Port is 80, End Port is 85, while the Device IP# used is 10.67.1.129.
